Introduction Litecoin Wallet
Litecoin Wallet cryptocurrencies have taken the world by storm, and Litecoin is among the most well-known digital currencies after Bitcoin. Whether you want to diversify your crypto portfolio or make your first digital asset purchase, acquiring Litecoin is a straightforward process when you know what steps to follow. In this guide, I’ll walk you through the process of buying Litecoin, from choosing a wallet to securing your newly acquired coins.
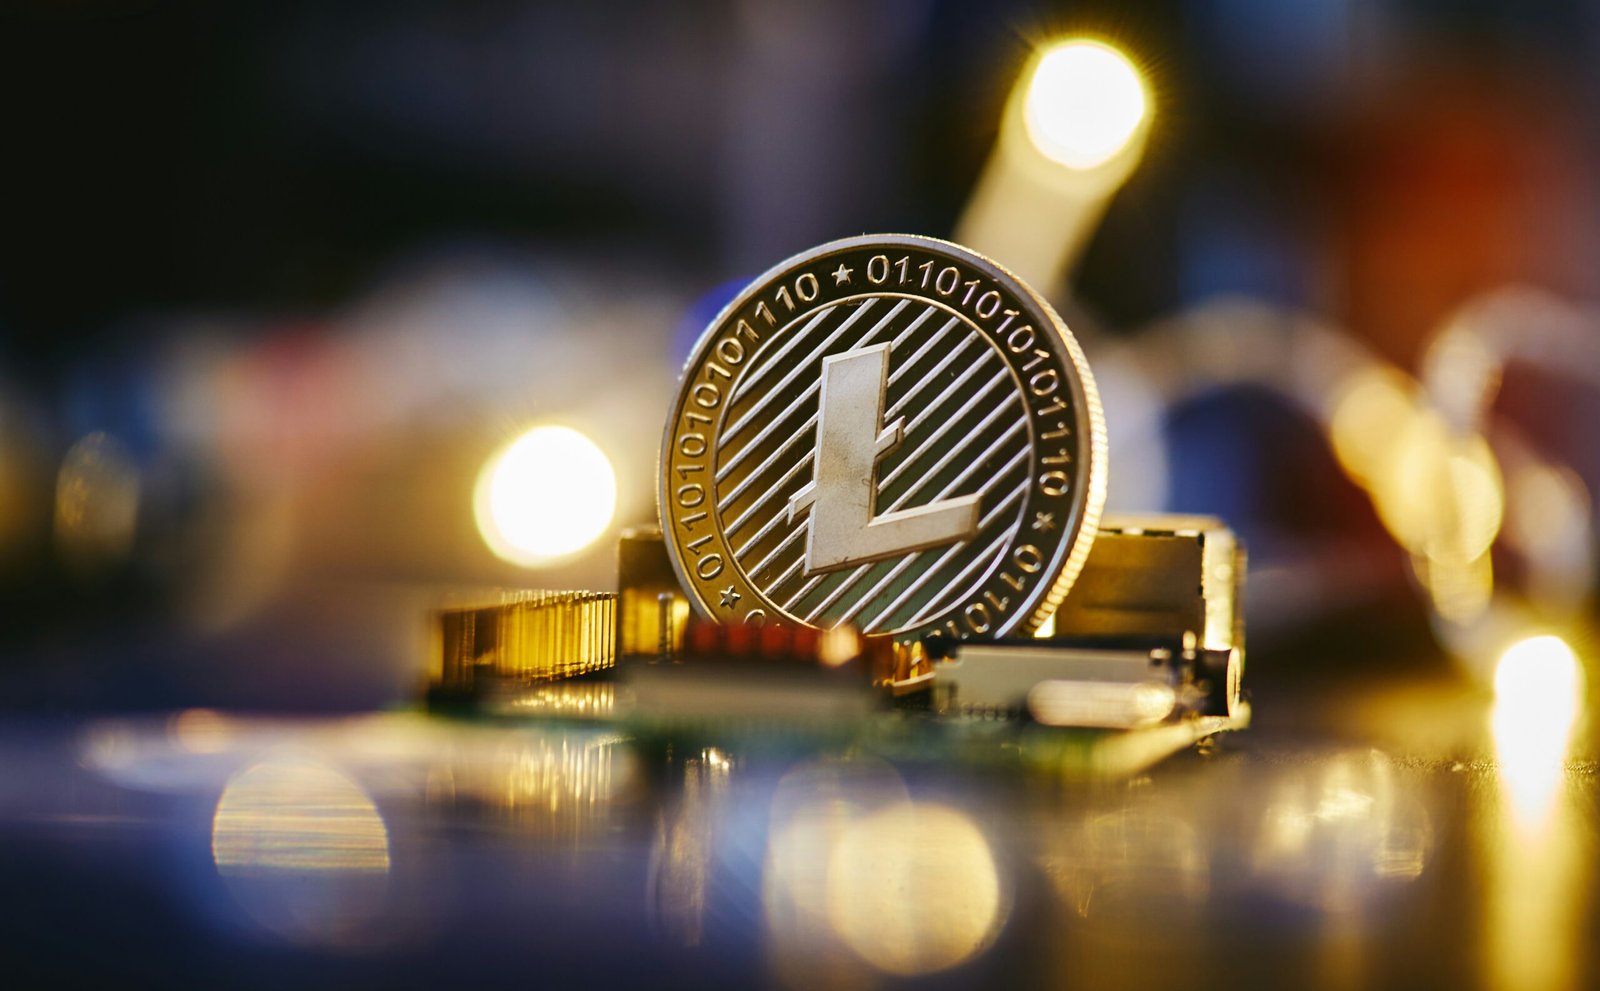
Understanding Litecoin Wallet
Before making any purchase, it’s important to have a grasp of what Litecoin is. Created in 2011 by Charlie Lee, Litecoin shares many technical similarities with Bitcoin but is designed for faster transactions and lower fees. Its growing ecosystem and established history make it an attractive choice for both beginners and seasoned investors.
Step 1: Select a Litecoin Wallet
The first step in buying any cryptocurrency is to have a secure place to store it. Litecoin wallets come in several forms:
- Hardware wallets: Physical devices like the Ledger Nano S or Trezor, offering high security.
- Software wallets: Applications such as Exodus or the official Litecoin Core Wallet, compatible with desktop and mobile devices.
- Online wallets: Web-based options like Coinbase Wallet, convenient but less secure than hardware counterparts.
Choose a wallet that best fits your security needs and accessibility preferences.
Step 2: Choose a Cryptocurrency Exchange
Next, you’ll need to select an exchange where you can purchase Litecoin. Some of the most reputable exchanges include Binance, Coinbase, and Kraken. When comparing exchanges, pay attention to:
- Account verification requirements
- Supported payment methods (e.g., bank transfer, credit card, or other cryptocurrencies)
- Transaction fees
- Security features
Step 3: Set Up and Verify Your Account
After selecting your exchange, you’ll need to create an account. Most platforms will ask you to complete identity verification as part of their security process. This may include submitting documents such as a photo ID and proof of address. The verification timeline can vary from a few minutes to several days, depending on the platform’s policies.
Step 4: Deposit Funds
With your account set up and verified, deposit your local currency or another supported cryptocurrency. Payment options typically include:
- Bank transfer (often with lower fees)
- Credit/debit cards (more instant, but sometimes with higher fees)
- Other cryptocurrencies (if supported)
Check for deposit limits, processing times, and any associated fees before proceeding.
Step 5: Purchase Litecoin Wallet
Now comes the exciting part – buying Litecoin! On your chosen exchange:
- Go to the Litecoin (LTC) trading page.
- Enter the amount of Litecoin you wish to purchase or the amount of fiat currency you want to spend.
- Review the transaction details, including any fees.
- Confirm the purchase to complete your order.
Your purchased Litecoin will show up in your exchange wallet almost instantly.
Step 6: Withdraw Litecoin to Your Wallet
For added security, consider moving your Litecoin from the exchange to the wallet you set up in the first step. This reduces the risk of hacks or exchange insolvency. Find your wallet’s receiving address and initiate a withdrawal from the exchange. Always double-check addresses to avoid losing funds.
Final Thoughts Litecoin Wallet
Purchasing Litecoin is a straightforward process, especially with a little preparation. By choosing a reputable exchange, ensuring your wallet’s security, and following the transaction steps carefully, you’ll become the proud owner of Litecoin in no time. Stay informed and vigilant, and enjoy your journey into the world of cryptocurrencies!

